Approve and reject documents
When documents route to you for approval, Mod AI gives you a focused list to act on. This page covers everything you need as an approver.
The action bar across the top-right of the invoice detail page shows different buttons depending on where the invoice is in its lifecycle:
- Pending Validation — Reject / Submit / Hold / Cancel Invoice. When validation errors are active on the invoice, the Validate button also appears in this row so you can re-run validation after fixing the errors. Approve isn't shown yet because the invoice still needs to clear validation before it can route for approval.
- Pending Review / Pending Approval — Approve (green, checkmark icon) / Reject (red, X icon) / Hold / Cancel Invoice. These are the buttons most of this article describes.
- Approved / Posted / Synced — actions are limited; you may only see Recall (if you submitted it and it's not yet posted to the ERP).
If you opened an invoice and don't see the buttons described below, check the status badge at the top of the page. The instructions assume Pending Review/Approval.
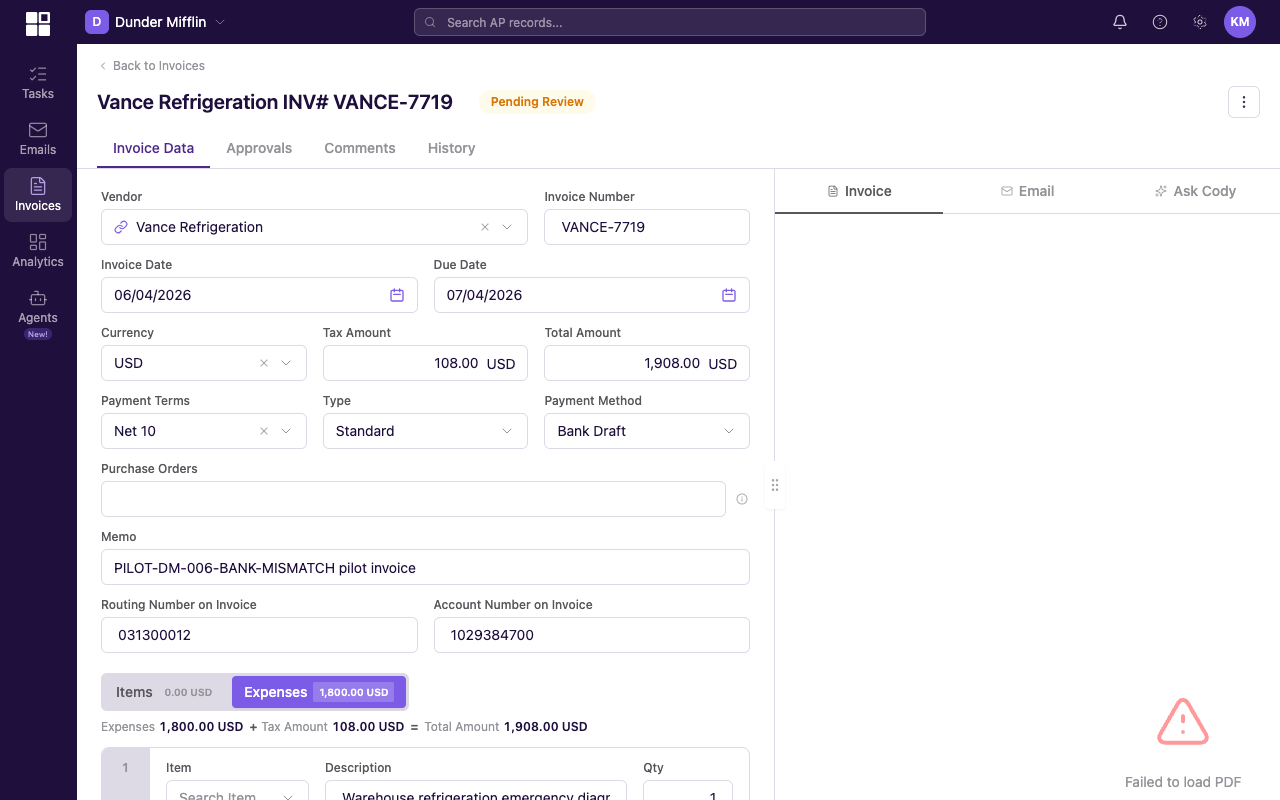
Invoice detail page in Pending Review status showing Invoice Data fields, Approvals, Comments, and History tabs, and the document viewer pane.
Find what needs your approval
Open Invoices in the left sidebar, switch to the Pending Approval tab, and use the Needs my action scope. That view filters the list to invoices currently waiting for your approval.
If your only role is Approver, you also see the restricted approver mode, which hides everything except invoices waiting on you.
The approval list
Each row shows:
- Document type (invoice, vendor credit, action, or inbound email pending email review).
- Key details (vendor, document number, amount, date).
- Current step and chain progress.
- Submitted by, and date submitted.
Email review entries appear when your entity uses email review policies. Reviewers approve, reject, or split the email before processing converts it into an invoice.
Review before approving
Before approving or rejecting, open the document. Click any item in your list to open the detail page. From there you see:
- Every extracted and entered field (vendor, amounts, line items, dates).
- The original document.
- Notices that surfaced during processing.
- Matching details (linked POs and receipts, if any).
- The AI Summary panel for the agent's plain-language briefing.
- Comments or notes from the submitter.
Verify before deciding.
Approve
- Open the document from your pending-approval queue. The detail page loads with the document on the left and the action bar at the top-right of the page.
- Review the details (header fields, line items, AI Summary, notices).
- In the action bar at the top-right of the invoice page, click the green Approve button. The button has a checkmark icon to the left of the label.
What happens next depends on where your step sits in the chain:
- If there are more steps, the document moves to the next step and the next approver is notified.
- If yours is the final step, the document is fully approved and continues to ERP sync.
Reject
- Open the document from your pending-approval queue.
- In the action bar at the top-right of the page, click the red Reject button. It has an X icon to the left of the label, contrasting with the green Approve button's checkmark.
- A modal opens titled Reject invoice. Type a rejection reason in the text field. The reason is required and is sent back to the submitter. Click the red Confirm reject button at the bottom-right of the modal to finalize.
After rejection, the document goes back to the submitter for correction. Once corrected, it can be resubmitted. The chain restarts at Step 1.
Write specific rejection reasons. Instead of "Incorrect amount", try "Invoice total is $5,200 but the PO total is $4,800. Please verify with the vendor before resubmitting." Specific reasons cut back-and-forth.
Recall a submission
If you submitted a document and need to make changes before it is fully approved, recall it.
- Open the document. If the document is in your queue, it appears under Pending Approval with Needs my action selected; if you submitted it earlier, find it via Invoices → Submitted by me in the list filters.
- In the action bar at the top-right of the invoice page, click the Recall button. It appears only on documents you submitted that are not yet fully approved; for everyone else the slot is empty.
- A confirmation toast appears in the bottom-right. The document leaves the approval chain and returns to you for editing.
You can only recall a document that is not yet fully approved. Once the last step completes, the Recall button is no longer available.
Step progress
Each document shows chain progress.
- Completed steps, marked with a checkmark.
- Current step, highlighted.
- Upcoming steps, listed in order.
- Who needs to approve, with the Any / All mode shown.
Multiple approvers on a step
When a step has more than one approver, the mode decides when the step completes.
- Any: completes the moment any one approver approves. Other approvers are no longer required (though they can still approve).
- All: every approver must approve before the step completes. The step stays pending until the last approver acts.
If even one approver in an "All" group rejects, the whole document is rejected.